Materials: Paper to recycle, 3 or 5 gallon bucket, bowls or buckets for kids, newspaper, absorbent cloth, water source, window screen, scissors, old frame (optional), duct tape (optional), rolling pin
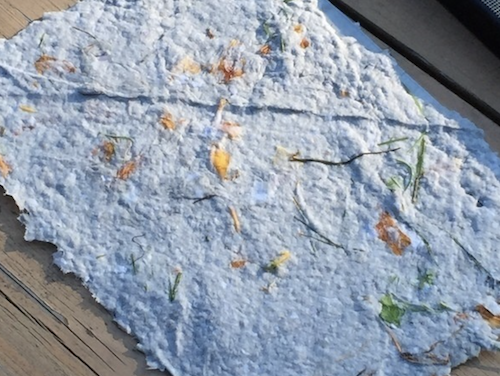
The act of paper-making is a phenomenal sensory experience and a chance for boundless, yet productive mess-making. Add ingredients from nature like leaves, flower petals and even small twigs, and this project becomes even more memorable, not to mention beautiful. The materials come from artwork kids have already made. This is a chance for kids to experience the cycle in recycle (and for us to have something else to do with all of the kid artwork that is piles up!).
The Guide
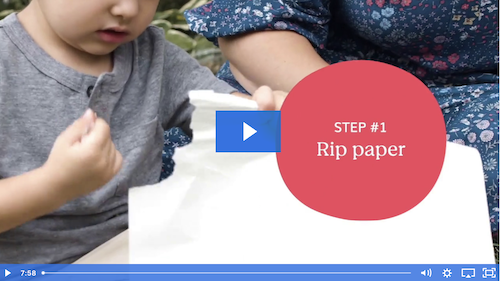
Follow the steps below to transform old artwork into new, recycled paper. You can also watch this video of the paper making process from start to finish with tips on learning into the process of art-making (and not just the final product) with kids!
Have a conversation: Ask kids what they think we should do with their piles of artwork. “What if we took some of the pictures and recycled them to make new art?" Lay out the pictures and talk to them, explaining how exciting it would be to transform into something new.
Make your frame: There are two different methods: Take a large, old picture frame and use a staple gun to attach some window screen to one side. This will become the paper-making/drying surface. Or, use a 7"x9" section of window screen and put duct tape around the edges. This new tool becomes the screen within a pan to catch pulp (a more traditional method with a more even result).
Prep the pulp: First, be sure that you are not using paper with any kind of coating or sheen. Newspaper will turn everything gray. Rip the paper into small-ish pieces (about the size of a quarter) and place them in a bucket. If wee ones struggle with ripping, make small tears all around the edges of a paper for them. Given that head start, it’s much easier (and so satisfying) for them to rip. Once you have paper in the bucket, cover it with water and let it soak for about 30 minutes.
Grind or mash pulp: Use a blender or an egg beater or mortar and pestle to turn the soaked paper into pulp.
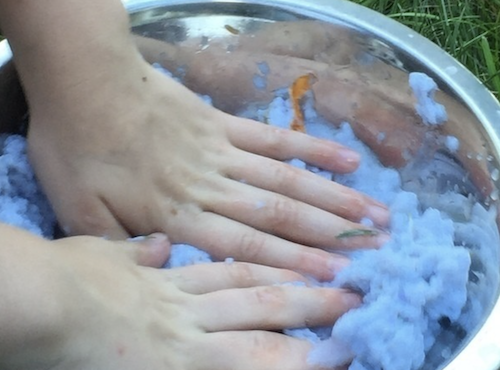
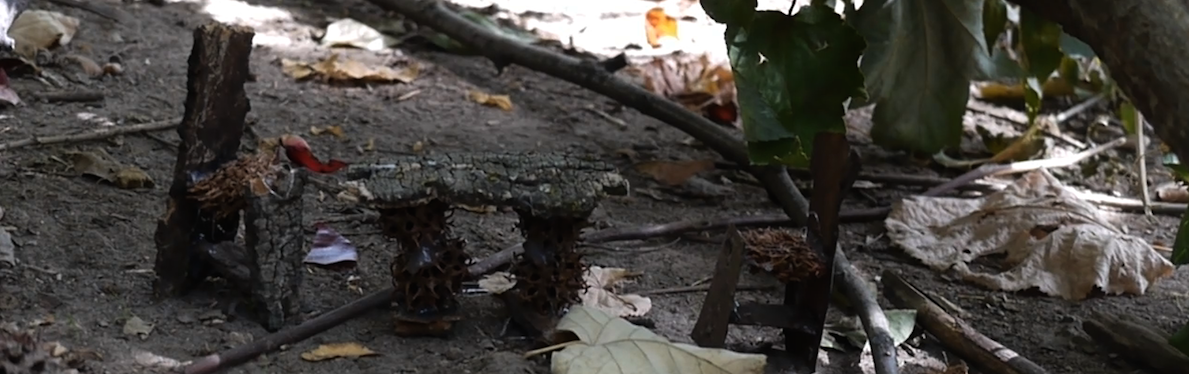
Hand mash and mix in nature treasures: This is the really fun part. Give everyone a bowl or bucket of pulp and welcome them to “really” mash and mix it up. Collect “flat” nature treasures with interesting colors and textures and add them to your pulp. This will make beautiful paper!
Turn pulp to paper: Add water to the bowls of pulp. For small kids, simply lay out a frame on which to work. Kids can place and smooth around fistfuls of watery pulp on the frame to make paper. The other option is to pour watery pulp into a basin or pan. Place the bit of screen on the bottom of the pan and move it back and forth until a nice layer of pulp collects on the screen, making the new paper.
Get the water out: Place layers of newspaper and absorbent cloth (towel, wool blanket, etc.) under and over your paper/screen. Using your flat hands, pat it until water comes out. Replace newspaper and cloth and use a rolling pin to get even more water out and press the paper.
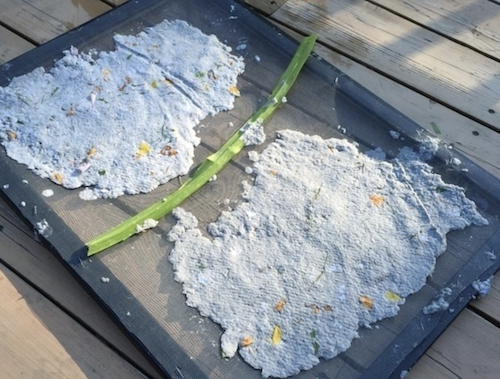
Wait: This is perhaps the hardest step of all. Place your screens of new paper in the sun and wait for them to really dry. Once they have, gently peel them from the screen.
Make new art: The texture and lovely look of the paper makes it a nice medium for new projects. Use natural paint and potato prints to design on their paper, or glue the edge scraps to paper to make new pictures.
Ripping paper, wielding a rolling pin and squeezing paper pulp through their fingers are incredible ways to sharpen both children's senses and fine motor skills.
By doing the making outside, we can not only enjoy the mess, but also incorporate plant materials, turning paper-making into its own art form. Both comfort with messy processes and experience with dappling in a wide variety of materials help kids become more creative people.
When kids participate in each step of turning old drawings into new paper, they experience recycling from beginning to end (or new beginning). This act of transforming materials offers a great way to practice the transforming schema, an important behavior pattern associated with early childhood development. There is really no better way to concretize both the process and the concept of recycling for kids, helping them to become good stewards of the planet.
Finally, the practice of letting go of old, treasured works of art can start to help kids to let go of a whole host of trappings that could, literally and figuratively, weigh them down in life. What a fun, reverent and beautiful way to plant the seed that we and our paper should keep reinventing ourselves.
By creativity, we mean the ability to both imagine original ideas or solutions to problems and actually do what needs to be done to make them happen. So, to help kids develop creativity, we parents need to nurture kids' imaginations and give them lots of chances to design, test, redesign and implement their ideas.
"Creativity is as important now in education as literacy, and we should treat it with the same status.”
Why, you ask? For one, it is through being creative that a person is able to get senses, sensibility and spirit working together. Simply put, without creativity, we don't think our kids will live a full life.
On a more practical level, it's also the means by which humans of all ages make an impact on the world and other people around them. A lot of heavy stuff is going to go down in our kids' lifetime, and their generation will need to imagine and implement solutions to big and very complicated problems. Although our kids are still far from public office or the boardroom, today's political and business leaders worldwide are already pointing to creativity as the most important leadership quality for the future.
Although years from the art studio or design lab, little kids can learn to think and act creatively if you give them time and the right practice.
Naturalist
Category:
Thinking Skills
What is a Naturalist?
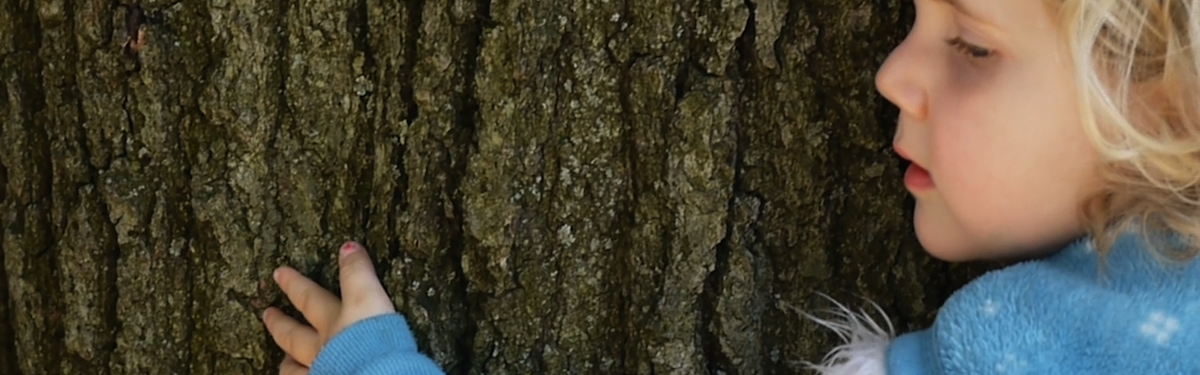
The oldest and simplest definition, “student of plants and animals,” dates back to 1600. The term has evolved over time, it's importance changing as the values of dominant culture have changed. 400 years after that old definition, Howard Gardner, the paradigm-shifting education theorist, added “naturalist” to his list of “multiple intelligences.” Gardner challenged the notion that intelligence is a single entity that results from a single capability. Instead, he recognizes eight types of intelligence, all of which enable individuals to think, solve problems or to create things of value. To Gardner, the Naturalist intelligence enables human beings to recognize, categorize and draw upon certain features of the environment.
A true naturalist has not simply Googled and learned the names of plants, animals, rocks, etc. Rather, he or she has had direct experience with them, coming to know about them and using all senses to develop this intelligence. A naturalist also has a reverence for nature, valuing and caring for living things from the smallest mite to the tallest tree. A naturalist comes to not only knowing the creatures and features of his or her environment, but treasuring them in thought and action.
Why does it matter?
In the process of becoming a naturalist, children become stewards of nature, a connection that is associated with a range of benefits, including greater emotional well-being, physical health and sensory development (not to mention the benefits to nature itself!). In a world in which primary experience of nature is being replaced by the limited, directed stimulation of electronic media, kids senses are being dulled and many believe their depth of both their interest in and capacity to understand complicated phenomena are being eroded. To contrast, the naturalist learns about the key features of their natural environment by using all of his senses and be interpreting open-ended and ever-changing stimuli.
Fine Motor
Category:
Body Skills
What are Fine Motor skills?
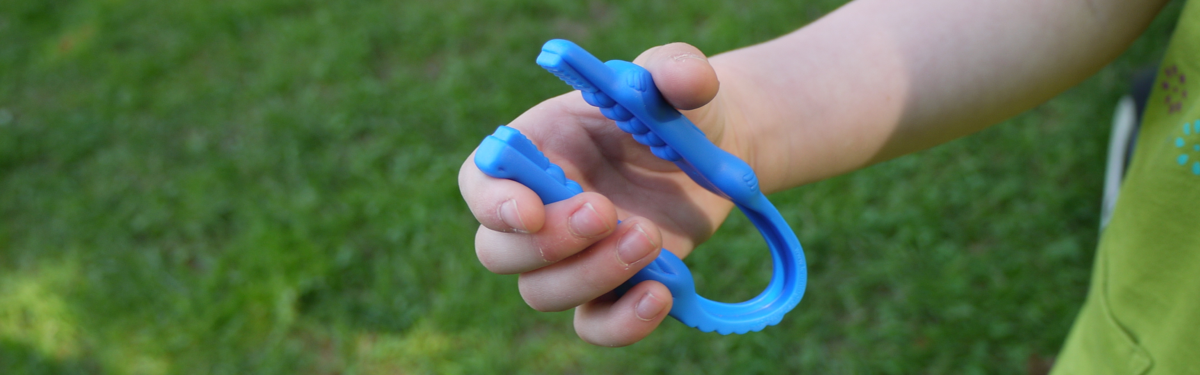
Fine motor skills refer to how we coordinate small muscle movements in the hands and fingers in conjunction with our eyes. Children begin with whole arm movements at birth and refine their movement, using smaller muscle groups as their bodies develop. With time and practice, children are able to enhance and strengthen the movements in their fingers, becoming able to manipulate small objects and perform a range of important life and learning tasks.
Why does it matter?
Kids need fine motor skills in order to perform every day tasks like using fork and knife, turning a door knob, cutting with scissors and catching and throwing a ball. These same skills are essential for tasks associated with higher level learning like hand writing and typing on a keyboard. If kids enter school without good fine motor skills, they can not only fall behind, but learning can become very frustrating. Moreover, they can develop lasting negative attitudes towards learning and themselves as learners.
Sensory
Category:
Body Skills
What is Sensory Development?
Although some scientists classify as many as 20 senses, when childhood educators talk about "developing the senses," we typically mean developing the five standard senses: sight, hearing, touch, smell and taste. In addition to honing these senses, educators care about sensory integration, which is the ability to take in, sort out, process and make use of information gathered from the world around us via the senses.
Why does it matter?
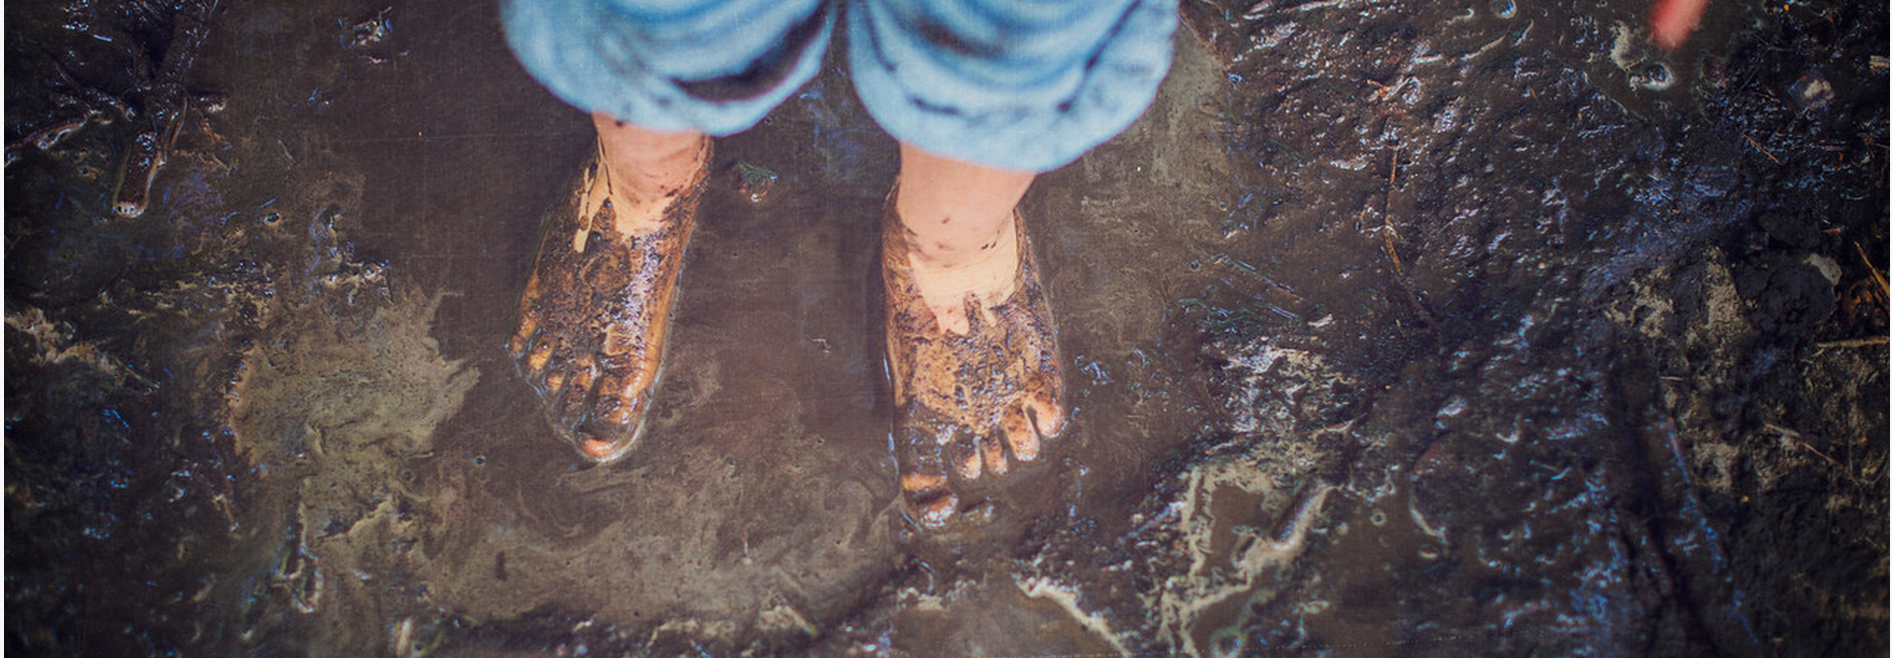
The better kids are able to tune and integrate their senses, the more they can learn. First, if their senses are sharper, the information kids can gather should be of greater quantity and quality, making their understanding of the world more sophisticated. Further, until the lower levels of the brain can efficiently and accurately sort out information gathered through the senses, the higher levels cannot begin to develop thinking and organization skills kids need to succeed. Senses also have a powerful connection to memory. Children (and adults) often retain new learning when the senses are an active part of the learning.
So, if kids have more sensory experiences, they will learn more, retain better and be better able to think at a higher level. Makes the days they get all wet and dirty in the sandbox seem better, doesn't it?
 Age: 0 to 8+
 Time: 1 hour+
 Materials: Paper to recycle, 3 or 5 gallon bucket, bowls or buckets for kids, newspaper, absorbent cloth, water source, window screen, scissors, old frame (optional), duct tape (optional), rolling pin